Building a Scene
Let's build a simple 3D scene step by step using PlayCanvas Web Components. By the end, you'll have a shaded, colored sphere resting on the ground under a blue sky — and you'll know what every line does.
Each snippet below is the complete contents of your page's body. The surrounding HTML (the import map, script tag and styles) is the boilerplate from Getting Started — if you finished that page, clear out its scene, because we're rebuilding it from scratch and then going further.
Starting Point
First, let's add the basic structure of our application to our HTML body using the <pc-app> and <pc-scene> elements.
<pc-app>
    <pc-scene>
    </pc-scene>
</pc-app>
This creates an empty 3D scene. However, we can't see anything rendered yet. We need a camera and some content.
All pc- elements must be closed properly. Self-closing tags (e.g. <pc-camera />) are not supported.
Adding a Camera
To view our scene, we need a camera which we can add to our scene using the <pc-entity> and <pc-camera> elements.
<pc-app>
    <pc-scene>
        <pc-entity name="camera" position="0 0 5">
            <pc-camera></pc-camera>
        </pc-entity>
    </pc-scene>
</pc-app>
We've added a camera entity positioned 5 units down the positive Z axis. By default, a camera looks down the negative Z axis so our camera is now looking at the origin. At this point, the rendered scene is a solid grey color — the default clear color of a camera:

A grey void — but proof that the renderer is up and running.
Adding an Object
The scene needs something to look at. Let's add a sphere using the <pc-render> element.
<pc-app>
    <pc-scene>
        <pc-entity name="camera" position="0 0 5">
            <pc-camera></pc-camera>
        </pc-entity>
        <pc-entity name="sphere">
            <pc-render type="sphere"></pc-render>
        </pc-entity>
    </pc-scene>
</pc-app>
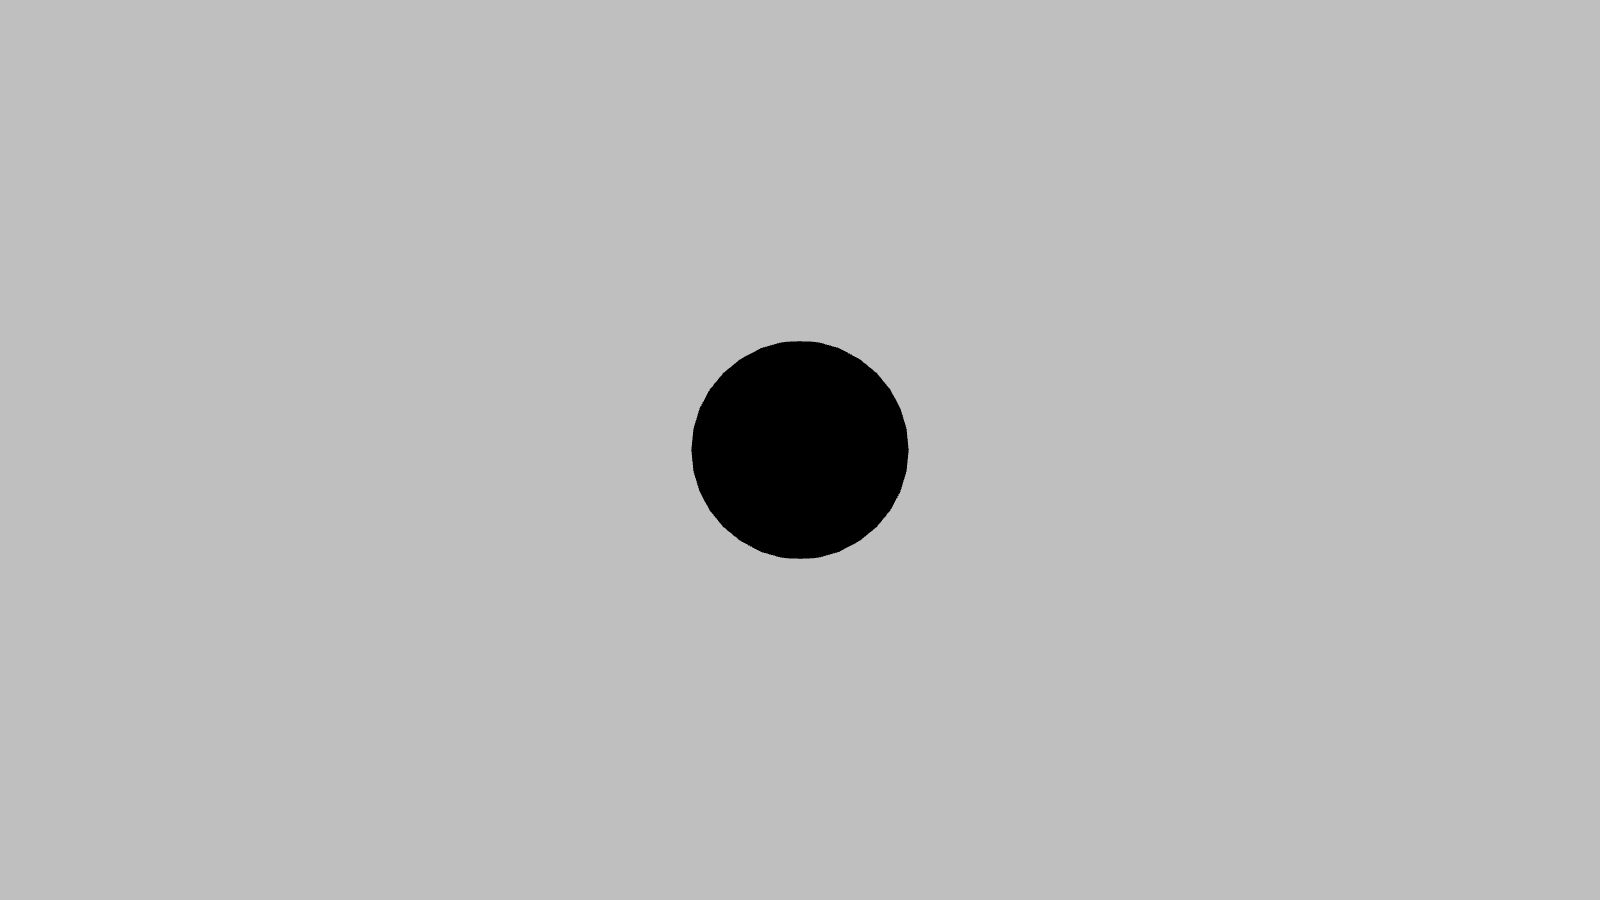
A dark disc appears in the center of the screen. The sphere is definitely there — but the scene has no lights, so nothing illuminates its surface and it renders as a black silhouette:
Adding a Light
Let's fix that with a directional light, added between the camera and the sphere using the <pc-light> element.
<pc-app>
    <pc-scene>
        <pc-entity name="camera" position="0 0 5">
            <pc-camera></pc-camera>
        </pc-entity>
        <pc-entity name="light" rotation="45 45 0">
            <pc-light type="directional"></pc-light>
        </pc-entity>
        <pc-entity name="sphere">
            <pc-render type="sphere"></pc-render>
        </pc-entity>
    </pc-scene>
</pc-app>
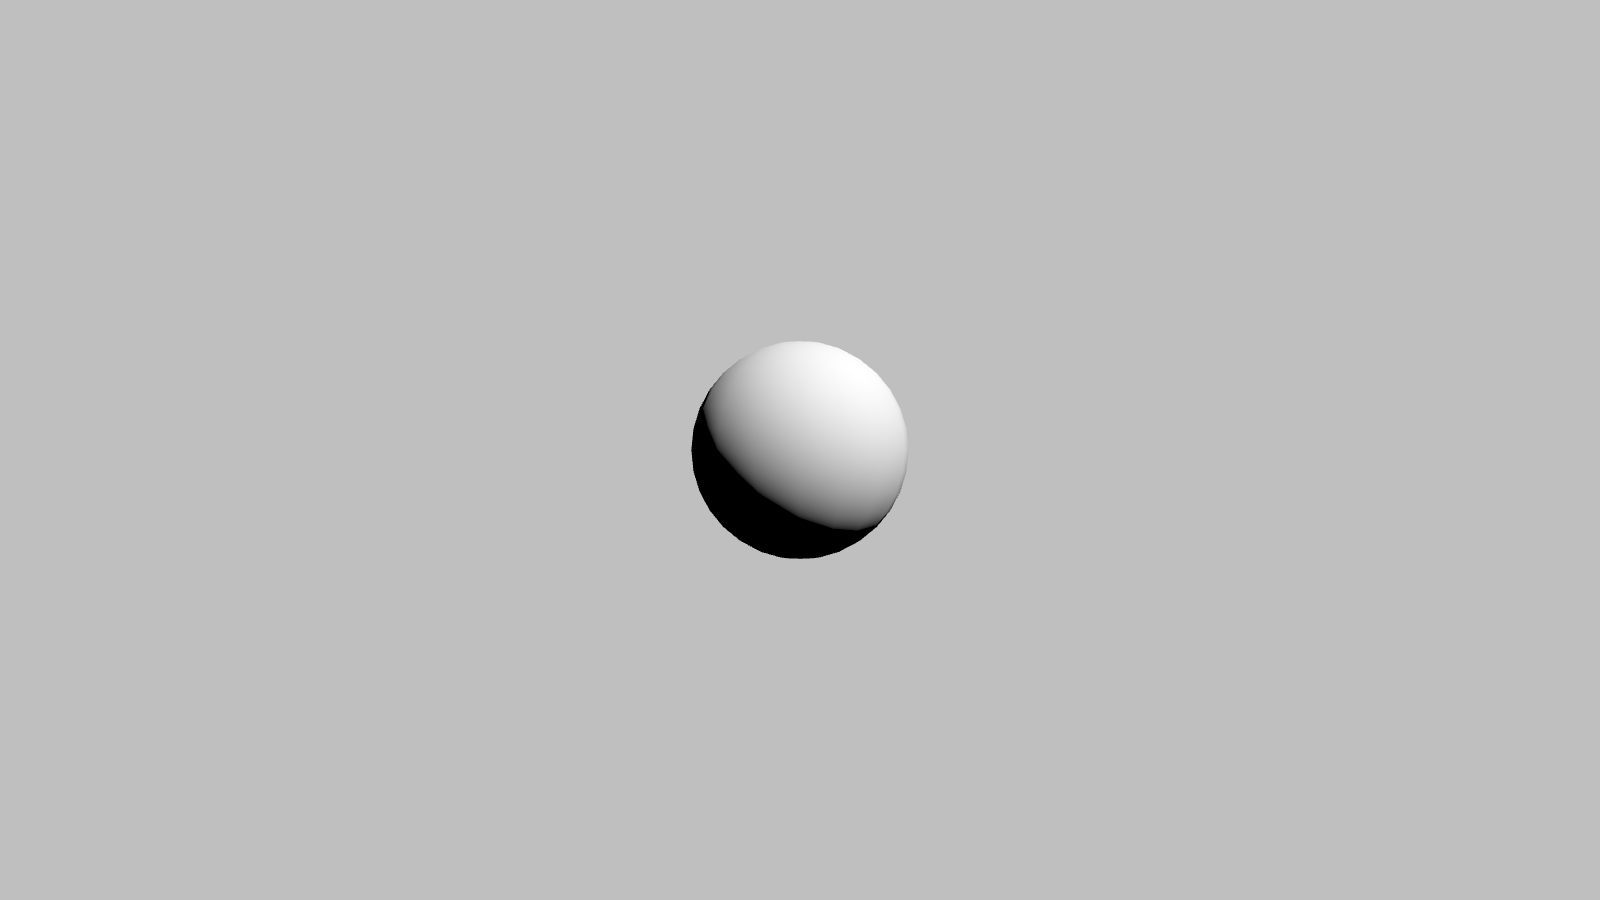
The light is rotated to shine down at an angle, which creates more interesting shading than lighting the sphere head-on. The sphere springs to life:
Adding Some Color
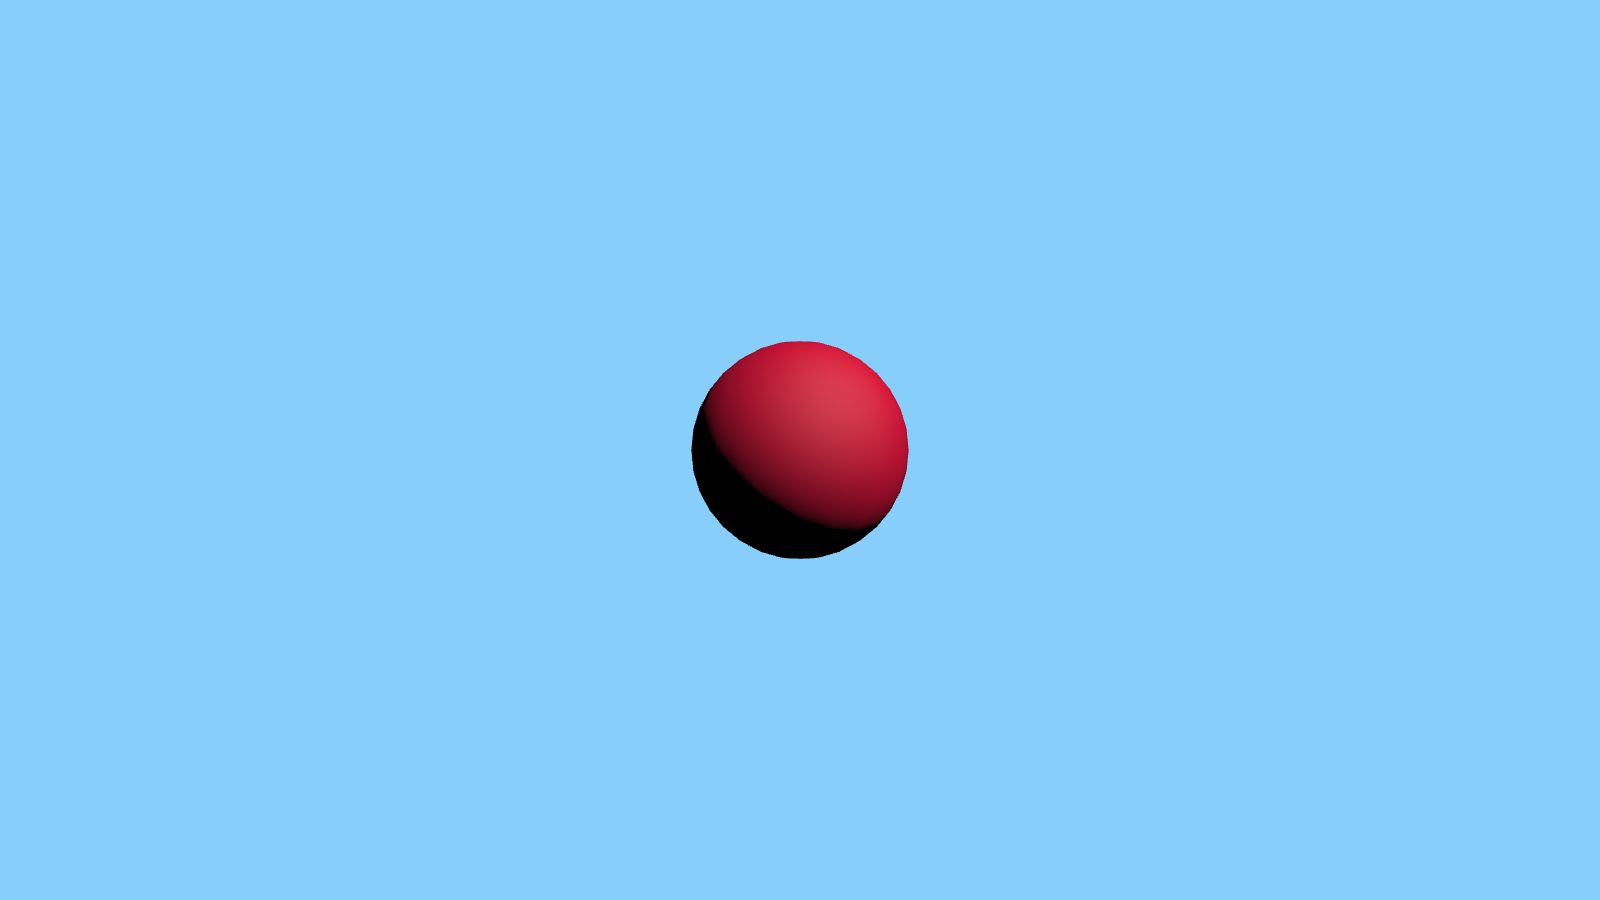
Everything so far uses defaults: a white material and a grey clear color. Let's introduce some color of our own. Materials are defined with the <pc-material> element, which lives as a direct child of <pc-app> (it's a shared resource rather than part of any one scene) and is applied by id through a render component's material attribute. While we're at it, we'll change the background using the camera's clear-color attribute.
<pc-app>
    <pc-material id="crimson" diffuse="crimson"></pc-material>
    <pc-scene>
        <pc-entity name="camera" position="0 0 5">
            <pc-camera clear-color="lightskyblue"></pc-camera>
        </pc-entity>
        <pc-entity name="light" rotation="45 45 0">
            <pc-light type="directional"></pc-light>
        </pc-entity>
        <pc-entity name="sphere">
            <pc-render type="sphere" material="crimson"></pc-render>
        </pc-entity>
    </pc-scene>
</pc-app>
Both color values here are CSS color names. Color attributes also accept hex codes and space-separated numbers — see Attributes for the full conventions.
Grounding the Scene
Objects floating in a void only get you so far. Let's give the sphere something to rest on: a plane primitive, scaled up to act as the ground, with a second material. The sphere primitive is 1 unit in diameter, so raising it to position="0 0.5 0" sets it exactly on top of the plane. We'll also raise and tilt the camera to frame the scene, and have the light cast shadows with the cast-shadows attribute — a boolean that is enabled simply by being present (see Attributes).
<pc-app>
    <pc-material id="crimson" diffuse="crimson"></pc-material>
    <pc-material id="gray" diffuse="lightgray"></pc-material>
    <pc-scene>
        <pc-entity name="camera" position="0 1.5 6" rotation="-10 0 0">
            <pc-camera clear-color="lightskyblue"></pc-camera>
        </pc-entity>
        <pc-entity name="light" rotation="45 45 0">
            <pc-light type="directional" cast-shadows></pc-light>
        </pc-entity>
        <pc-entity name="sphere" position="0 0.5 0">
            <pc-render type="sphere" material="crimson"></pc-render>
        </pc-entity>
        <pc-entity name="ground" scale="8 1 8">
            <pc-render type="plane" material="gray"></pc-render>
        </pc-entity>
    </pc-scene>
</pc-app>
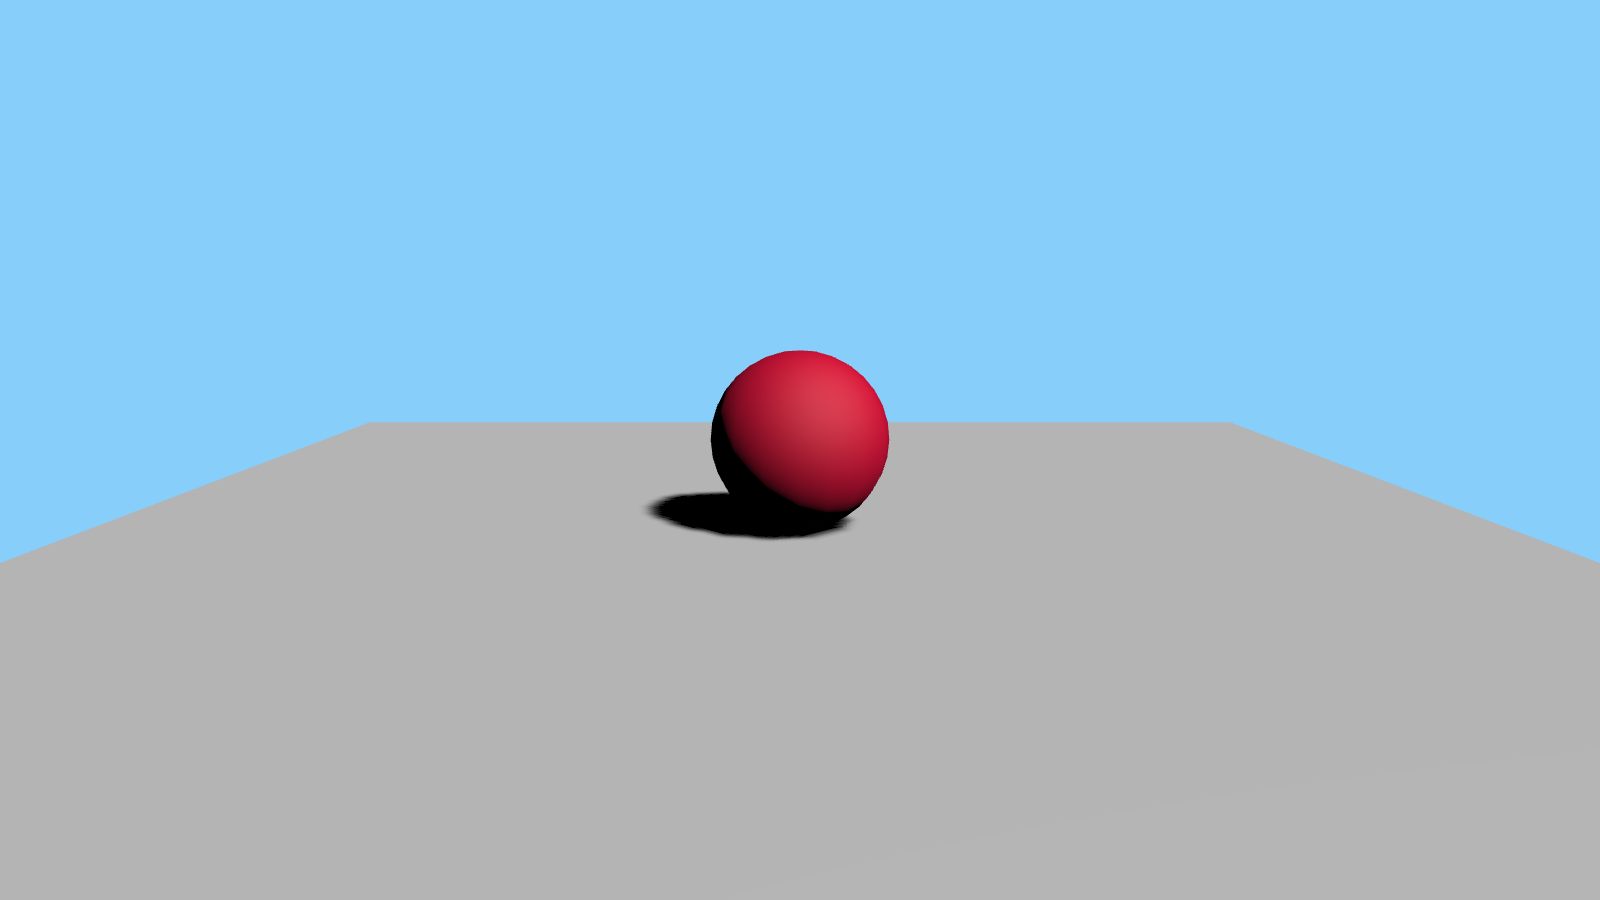
That's a scene: a camera, a light, geometry and materials — composed entirely in HTML.
The Element Hierarchy
The structure you just built follows rules that apply to every PlayCanvas Web Components document:
pc-app ................... the application
├── pc-material .......... app-level resources (also: pc-asset)
└── pc-scene ............. root of the entity hierarchy
    └── pc-entity ........ a node in the scene graph (entities can nest)
        └── pc-camera .... components that give an entity abilities
                           (also: pc-light, pc-render, ...)
<pc-scene>,<pc-material>and<pc-asset>are direct children of<pc-app>.<pc-entity>is a direct child of<pc-scene>or of another entity. Nest entities to build the transform hierarchy — an entity'sposition,rotationandscaleare local to its parent.- Component elements such as
<pc-camera>,<pc-light>and<pc-render>are direct children of an entity, and each one gives that entity a capability. - A misplaced element logs a console warning naming the required parent, so keep the console open while authoring. Each tag's reference page states its placement rules.
Next Steps
- Attributes — the value conventions you just used: booleans, colors, vectors and more.
- Adding Behavior with Scripts — make things move. The engine also ships ready-made scripts such as
cameraControls, which lets you orbit your scene with the mouse. - Tag Reference — everything else you can declare.
- Examples — see Basic Shapes for a bigger version of the scene you just built.